
Installing Splash 10 in Mouf
Dependencies
Splash 8 comes as a Composer package. If you are using Mouf, there is a special package that eases Splash installation in Mouf.
The first step is therefore to install Mouf.
Once Mouf is installed, you can process to the Splash installation.
Requirements
For Splash to work, you will need an Apache server, with the rewrite_module enabled.
Install Splash
Edit your composer.json file, and add a dependency on mouf/mvc.splash.
A minimal composer.json file might look like this:
{
    "require": {
        "mouf/mouf": "~2.0.0",
        "mouf/mvc.splash": "~8.0"
    },
    "autoload": {
        "psr-4": {
            "Test\\": "src/Test/"
        }
    },
    "minimum-stability": "dev",
    "prefer-stable": true
}
As explained above, Splash integrates easily with Mouf framework (before version 8, Splash was heavily tied to Mouf, but since version 8, Mouf is only one possible integration amongst many others). Mouf allows you (among other things) to visually "build" your project's dependencies and instances.
To install the dependency, run
php composer.phar installThis composer.json file assumes that you will put your code in the "src" directory, and that you will use the "Test" namespace and respect the PSR-0 naming scheme. Be sure to create those directories (src/Test) before running the install process. If you do not understand what "namespace" or "PSR-4" means, stop right now, and head over the autoloading section of Composer and the PSR-0 documentation.
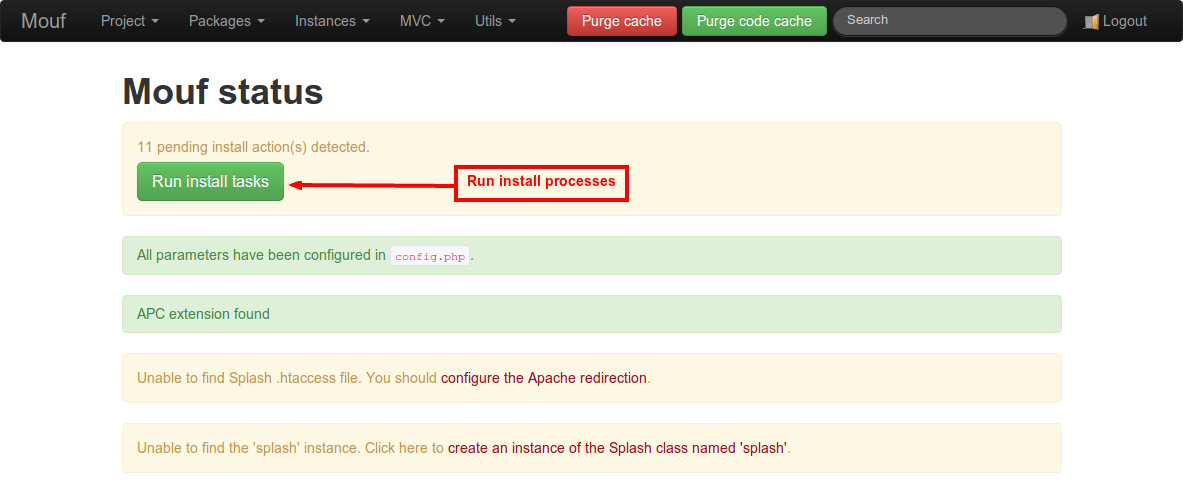
At this point, the Splash packages should be downloaded and installed (and Mouf should be set up). Start the Mouf admin interface at http://localhost/{yourproject}/vendor/mouf/mouf There is an install process to run, so just run it.
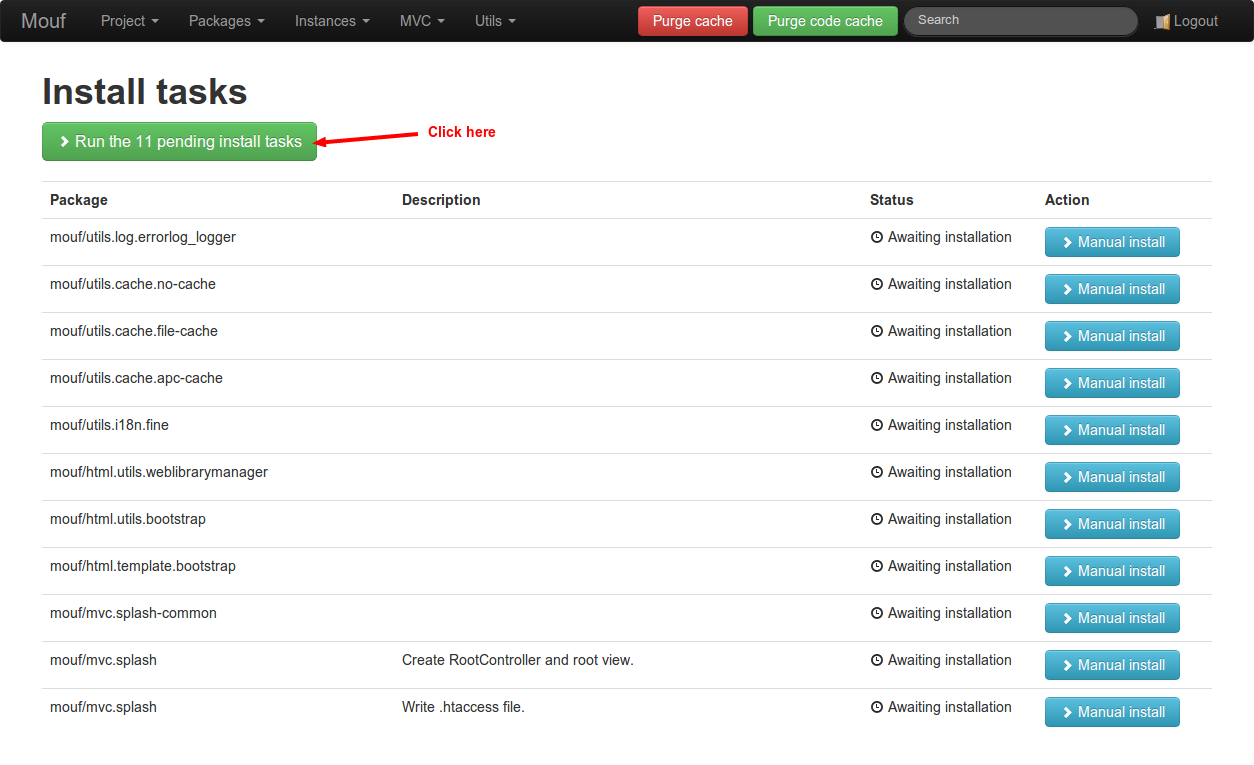
The Splash install process will:
- Create a number of instances in the container. Especially, it will set up a Stratigility pipe, with Splash middleware included and fully configured.
- Create an Apache .htaccess file that will route the requests to Splash
- Create a default
RootControllerclass to handle the requests to the root of your web application - Create a default HTML view for the RootController
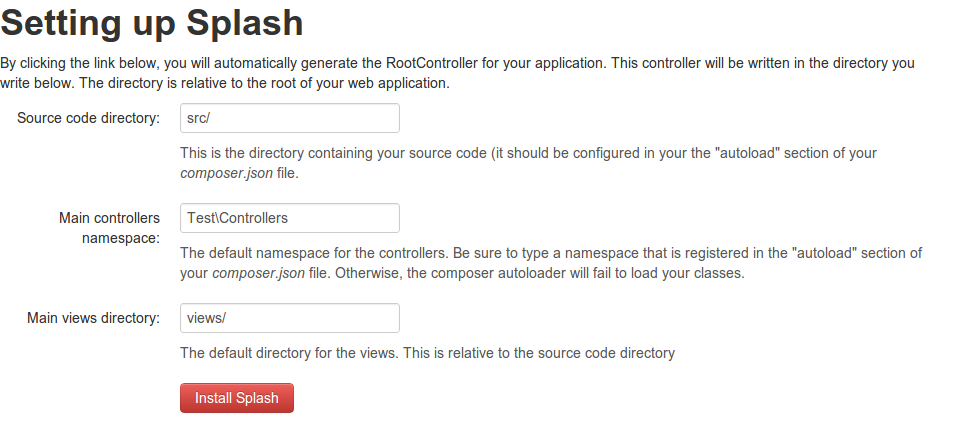
The install process does its best to use your namespace for the RootController, and it asks you where the files should go:
Configure Apache redirection
When Splash is installed, a MVC menu appears in Mouf.

The Configure Apache redirection menu helps you configuring what files should be handled by Splash and what files should be ignored. By default, resource files (images, js, css...) are ignored.
Purging the cache
Splash comes with a caching system used to speed it up. When you modify a route (for instance, when you create a new controller), please be sure to purge the cache (using MVC/Splash/Purge URLs cache or the big "Purge PSR-6 cache" button) to take your modifications into account.
Found a typo? Something is wrong in this documentation? Just fork and edit it!